
How to Install an Under-Sink Reverse Osmosis System Step by Step
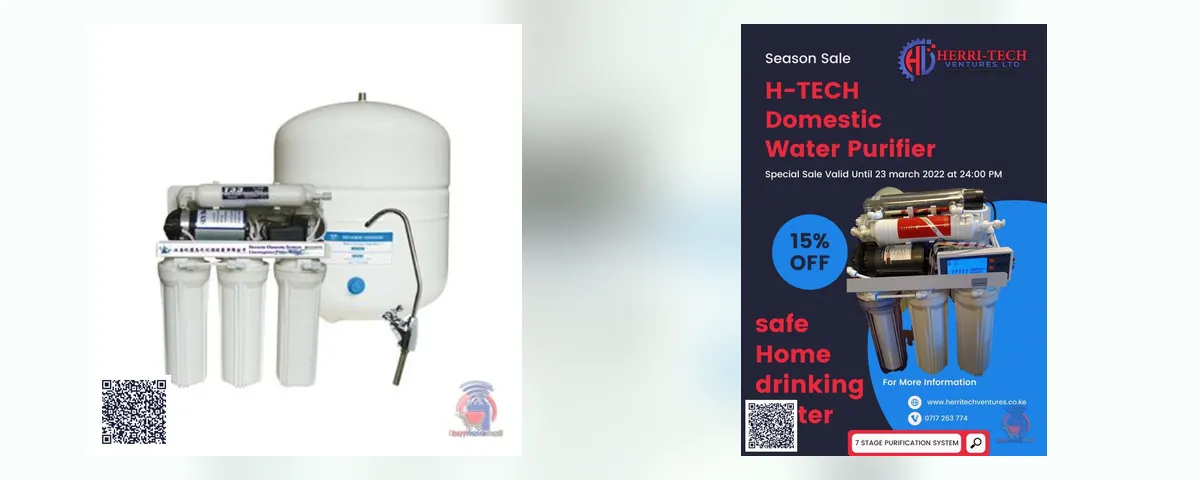
Quick answer: To install an under-sink RO: (1) shut off the cold water; (2) fit the feed valve on the cold line; (3) fit the drain saddle on the sink drain above the trap; (4) mount the RO faucet on the sink or worktop; (5) mount the unit and connect the colour-coded tubing; (6) connect the storage tank; (7) open the water, check for leaks and flush the first tanks to drain. If mains pressure is low, choose a model with a booster pump. H-TECH under-counter RO from KSh 30,000.
Key facts
- Feed valve on cold line
- Drain saddle above trap
- Push tubes fully in
- Flush before drinking
On this page
Under-Counter Purifiers at H-TECH
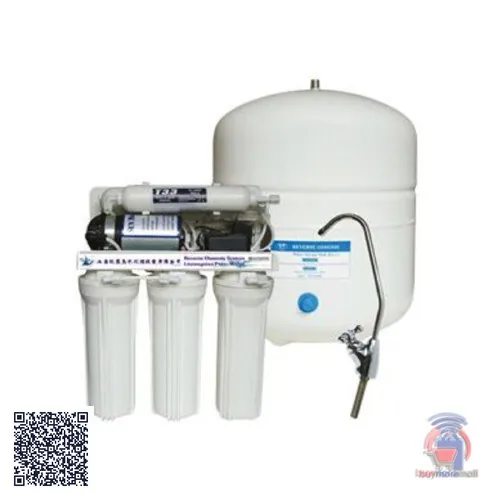 RO Under counter system, without booster pumpKSh 30,000
 RO Under counter system, with booster pumpKSh 35,000
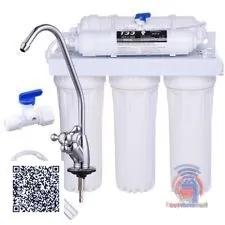 UF Under Counter System (5 Stage)KSh 17,000
 7 stage Domestic water purifierKSh 42,000
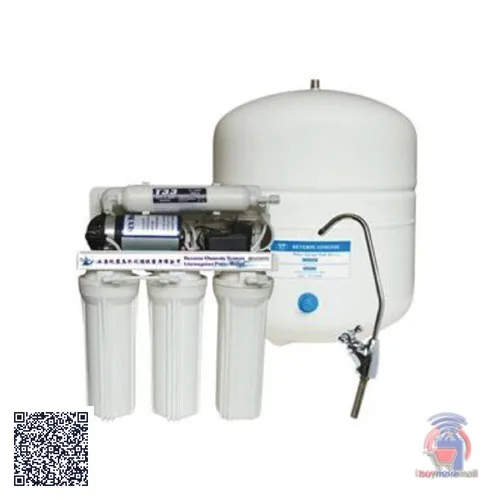 20Lph DOMESTIC WATER PURIFIERKSh 35,000
| Product | Price |
|---|---|
| RO Under counter system, without booster pump | KSh 30,000 |
| RO Under counter system, with booster pump | KSh 35,000 |
| UF Under Counter System (5 Stage) | KSh 17,000 |
| 7 stage Domestic water purifier | KSh 42,000 |
| 20Lph DOMESTIC WATER PURIFIER | KSh 35,000 |
Current listed prices incl. VAT (updated 10 November 2026).
RO or UF? See RO vs UF purifiers and the home purifier buying guide.
Tools and Parts
- Drill with a hole saw or step bit (for the faucet, if there is no spare hole)
- Adjustable spanner, screwdriver, tape (PTFE)
- Tube cutter or sharp knife, towel and bucket
- Parts supplied with the unit: feed valve, drain saddle, faucet, tank valve, tubing
Step by Step
- Plan the layout: unit, tank and filters must fit under the sink with room to change filters.
- Turn off cold water and open the tap to release pressure.
- Fit the feed valve on the cold supply (tee adaptor) with PTFE tape.
- Fit the drain saddle on the drain pipe above the trap, drilling a small hole through the pipe wall.
- Mount the faucet in a spare sink hole or drill one in the worktop.
- Mount the unit on the cabinet wall.
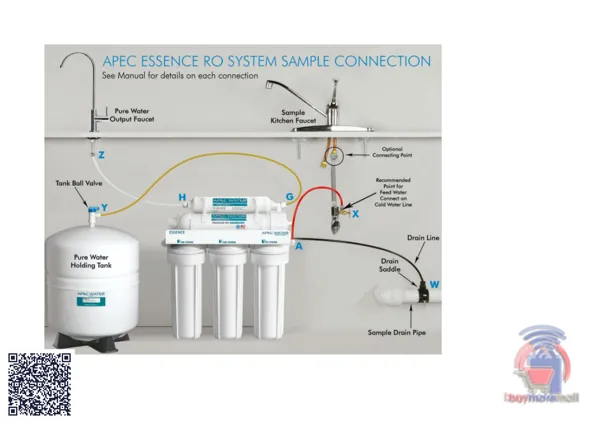
- Connect tubes: feed to inlet, product to tank tee and faucet, waste through the flow restrictor to the drain saddle. Cut tubes square and push them fully home.
- Fit the tank valve with tape and connect the tank.
- Turn water on slowly and check every joint for leaks.
- Flush: fill and empty the tank to drain as the instructions say (often two or three times) to rinse new filters.
Low Water Pressure?
RO membranes need pressure. If the mains is weak or you use a roof tank, pick a model with a booster pump or add one: see the booster pump guide.
Maintenance
- Change sediment and carbon filters about every 6 months.
- Replace the membrane when TDS rises or flow drops (often 2–3 years).
- See RO maintenance.
Watch: RO purifiers and water ATMs
Frequently asked questions
Can I install an RO system myself?
Yes, if you are comfortable with basic plumbing; otherwise ask us for installation.
Where does the RO waste water go?
Into the sink drain through the drain saddle above the trap.
Do I need a booster pump for RO?
If water pressure is low (for example from a roof tank), yes.
How long does RO installation take?
Typically one to two hours, plus flushing time.
Why is my new RO water tasting odd?
New carbon filters need flushing; empty the first tanks to drain.