
How to Install a Solar Water Pump: Panels, Controller, Pump and Tank Step by Step
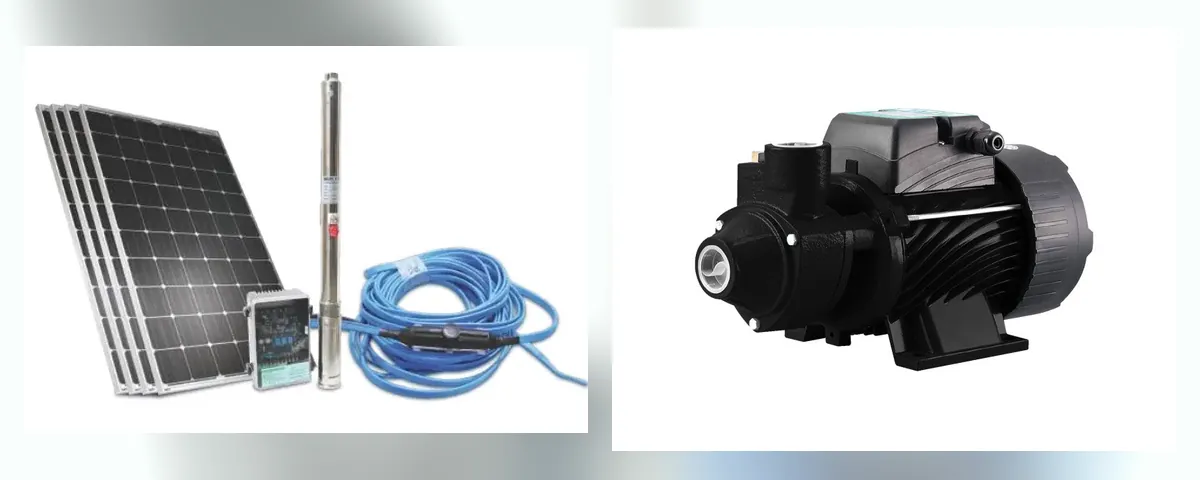
- Size to daily need + head
- Panels unshaded, angled
- Controller between panels and pump
- Tank + float switch
On this page
Solar Pumps at H-TECH
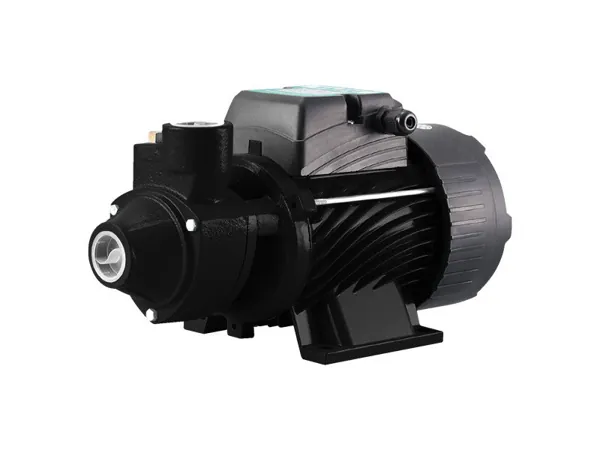 DAYLIFF DDPS60 DC Solar PumpKSh 18,230
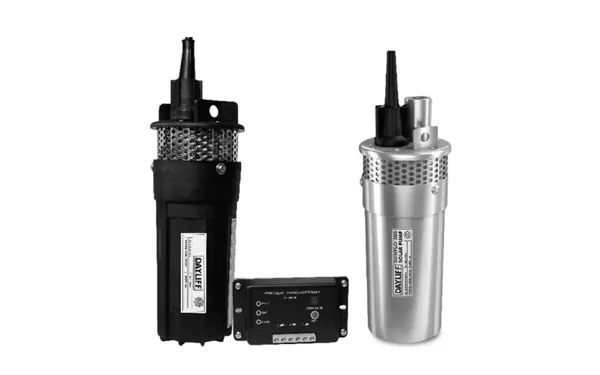 DAYLIFF SUNFLO-S 300 Stainless Solar PumpKSh 28,880
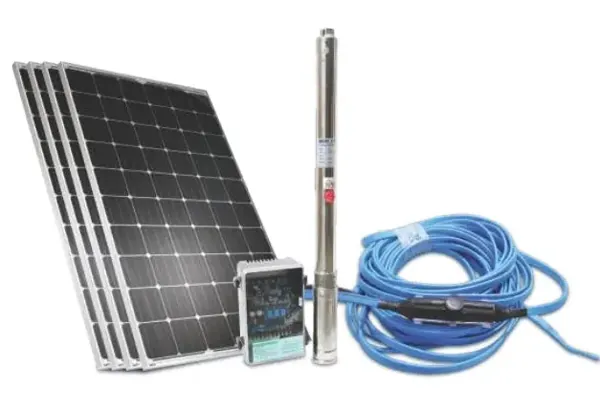 DAYLIFF SUNFLO-B2 400C3 Solar Pump SystemKSh 33,080
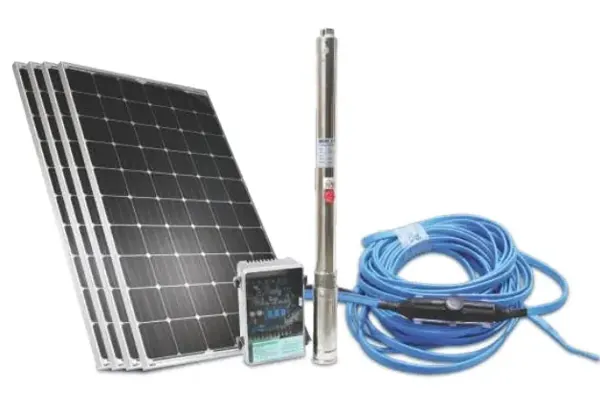 DAYLIFF SUNFLO-B2 800C3 Solar Pump SystemKSh 38,250
 DAYLIFF FLOATSWITCHKSh 2,630
| Product | Price |
|---|---|
| DAYLIFF DDPS60 DC Solar Pump | KSh 18,230 |
| DAYLIFF SUNFLO-S 300 Stainless Solar Pump | KSh 28,880 |
| DAYLIFF SUNFLO-B2 400C3 Solar Pump System | KSh 33,080 |
| DAYLIFF SUNFLO-B2 800C3 Solar Pump System | KSh 38,250 |
| DAYLIFF FLOATSWITCH | KSh 2,630 |
Current listed prices incl. VAT (updated 19 October 2026).
Before You Install: Size the System
- Daily water need in litres (household, livestock, irrigation).
- Total head: water level depth + height to the tank top + pipe losses (see pump size calculator).
- Source: borehole or deep well (submersible) or river, dam, tank or shallow well (surface).
Solar pumps pump while the sun shines, so store water in a tank for nights and cloudy days. For farm use see solar water pumps for farms.
Step-by-Step Installation
- Plan the layout: panels, controller, pump and tank positions, keeping cable runs reasonable.
- Mount the panels on a sturdy frame facing the sun with no shade from trees or buildings. In Kenya, near the equator, panels are usually tilted at a low angle, enough to let rain wash them.
- Install the pump: submersible: lower it on its rising main and safety rope, keeping it above the bottom; surface pump: mount it close to and as low as possible above the water, on a firm base.
- Fit the controller in a shaded, ventilated, dry place, close to the panels.
- Wire it up following the manufacturer's diagram: panels to controller input, controller output to pump, and float switch to the controller's control input.
- Run the pipework to the tank with a non-return valve, and fix it securely.
- Install the float switch in the tank so the pump stops when it is full.
- Test at midday: check flow at the tank, controller readings and that the float switch stops the pump.
Common Mistakes
| Mistake | Result |
|---|---|
| Panels partly shaded | Big drop in output |
| Pump undersized for the head | Little or no water at the tank |
| No float switch | Overflow and wasted pumping |
| Thin cables over long runs | Power loss, poor performance |
| Surface pump too high above water | Loses prime (see how to prime a pump) |
Maintenance
- Clean panels with water when dusty.
- Check cable connections and the float switch every few months.
- Keep the borehole or well intake clean.
Safety: electrical connections must be made by a qualified electrician, with correct earthing and a breaker sized for the equipment.
Frequently asked questions
How do I install a solar water pump?
Size it, mount unshaded panels, fit the pump, wire panels–controller–pump per the diagram, add a tank with a float switch and test at midday.
Do solar water pumps need batteries?
Usually not; they pump during the day into a storage tank.
How do I connect a solar pump controller?
Panels to the controller input, the pump to its output and the float switch to its control input, following the manufacturer's diagram.
Which way should solar panels face in Kenya?
Towards the sun with no shade; near the equator a low tilt works, enough to let rain clean the panels.
Why is my solar pump giving little water?
Shading, dirty panels, undersized pump for the head, or thin cables.